I typically don’t take commissions, but I was approached by someone on Mastodon to create mugs that were in the shape of acorns. That felt like something in my wheelhouse (pun intended!) so I said I’d give it a go.
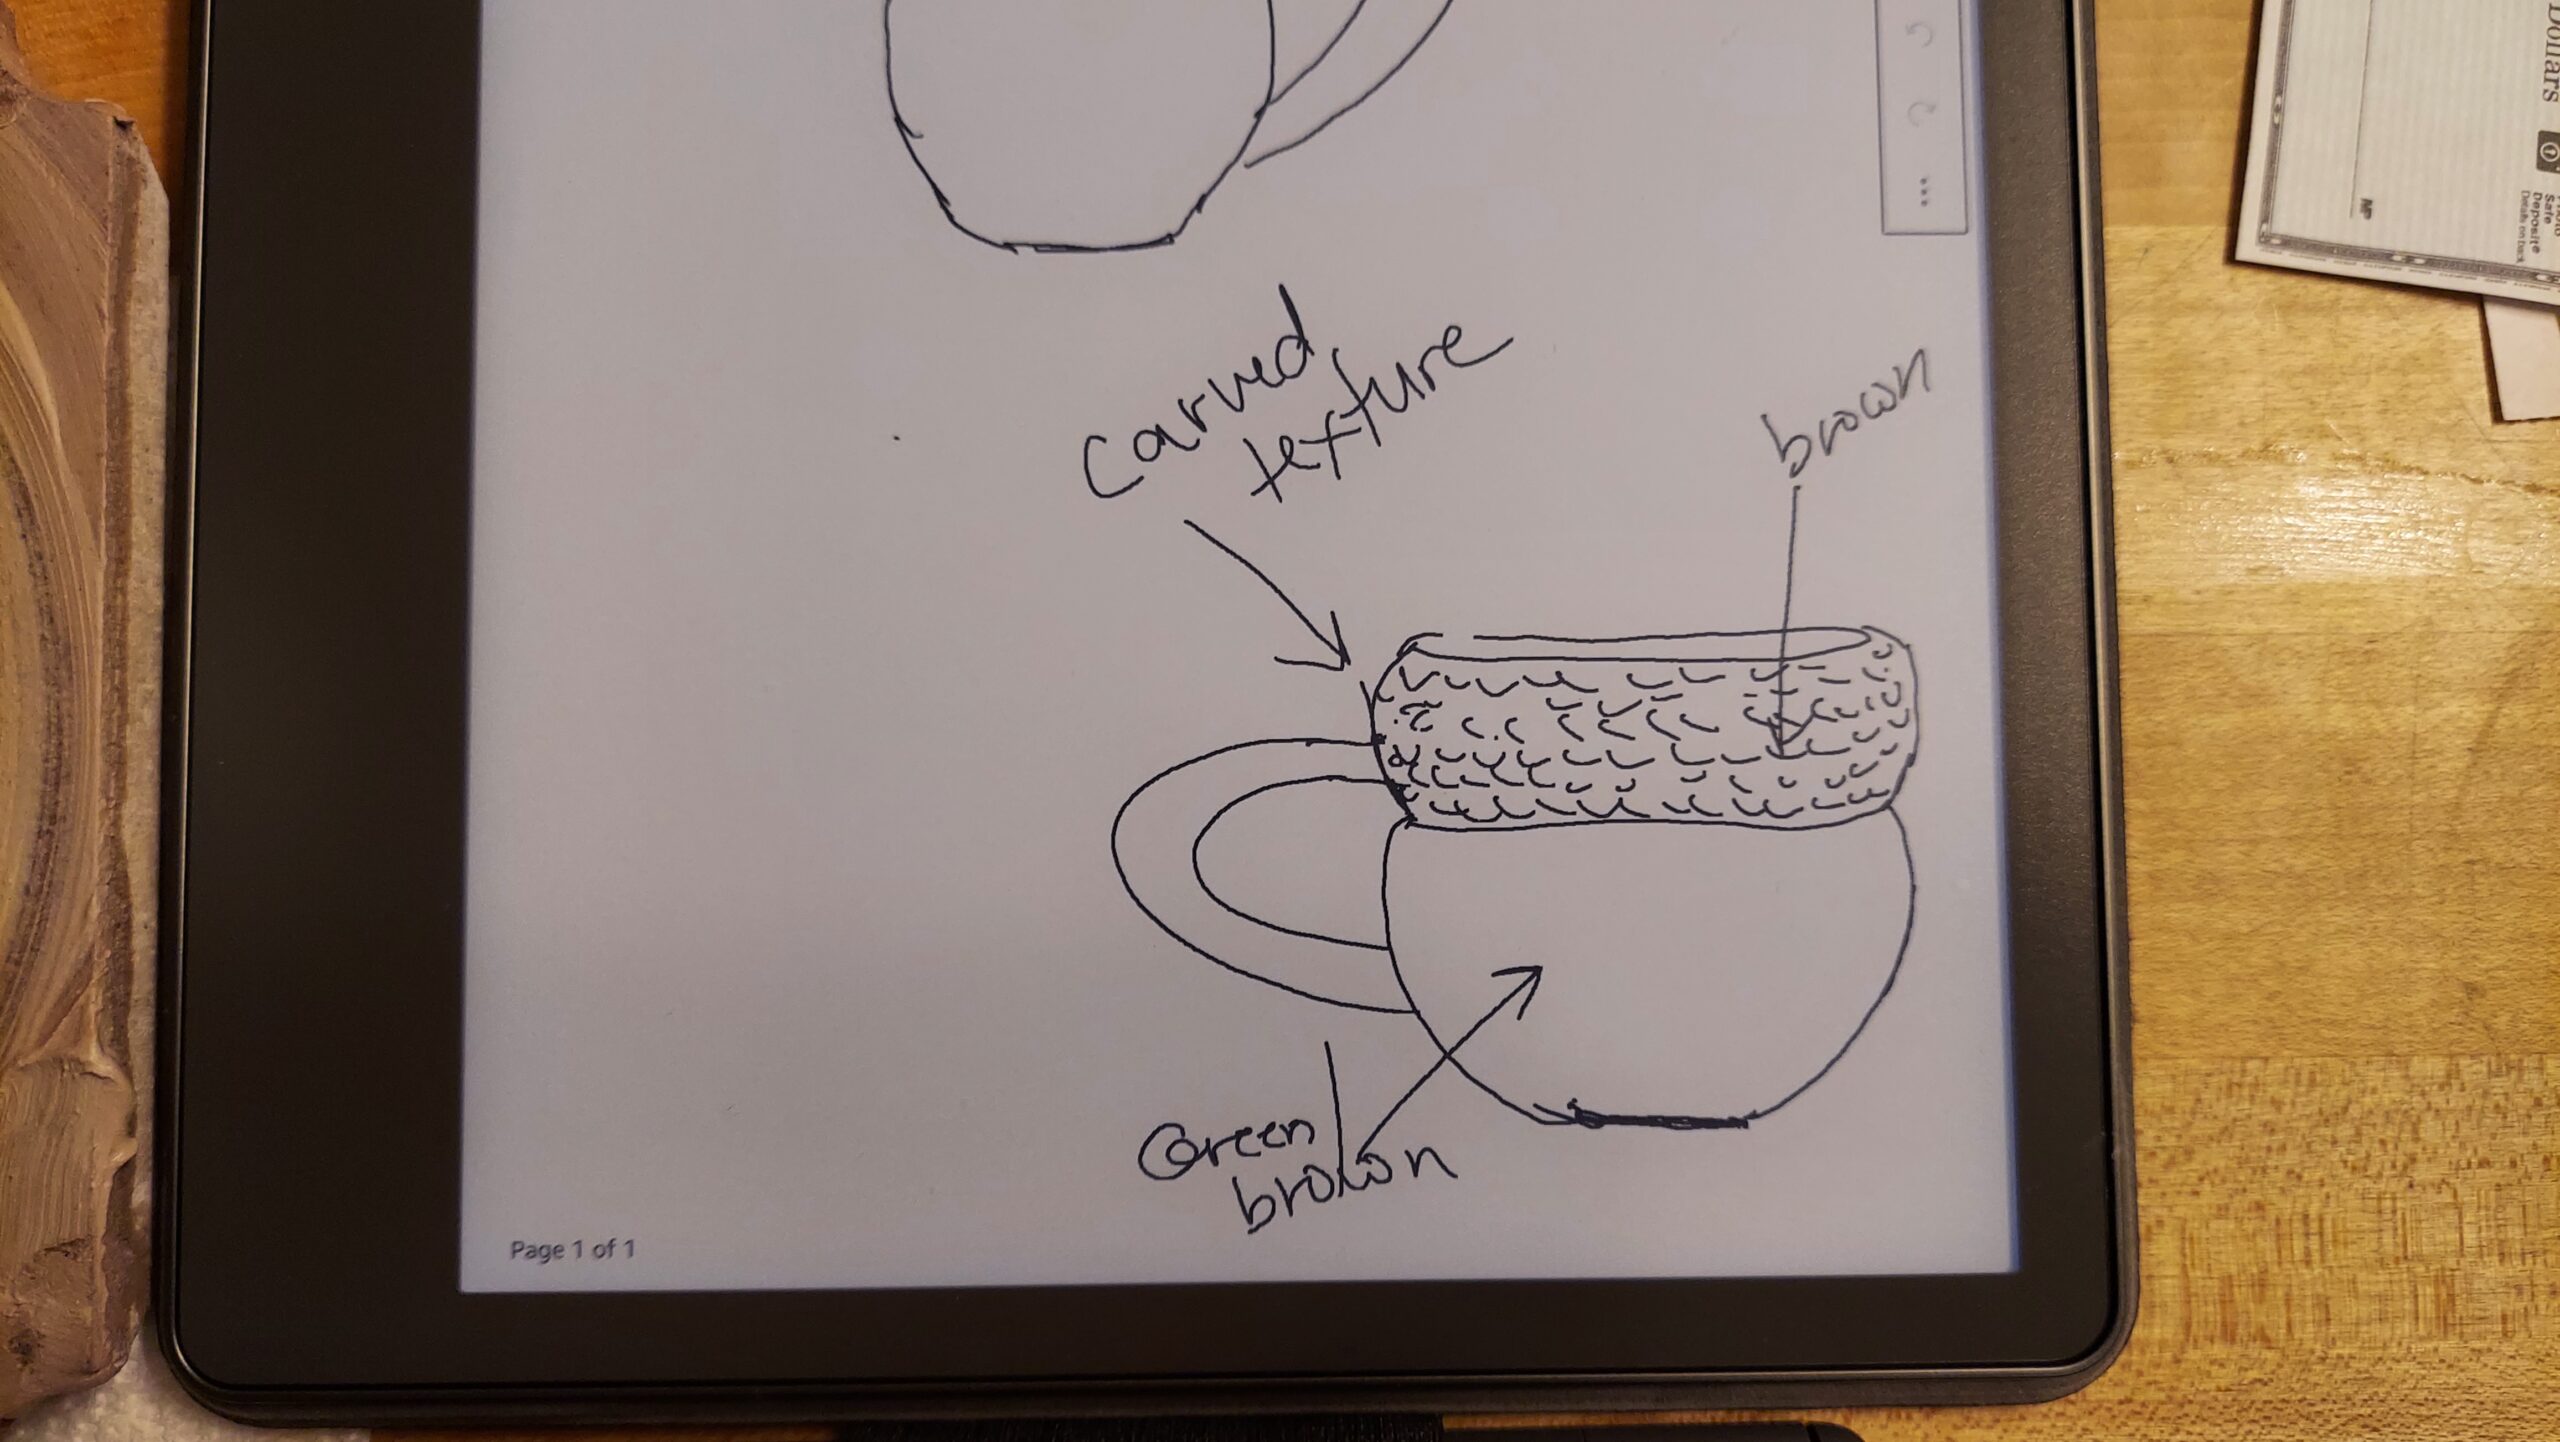
initial sketch for project
After spending a little time sketching out some possibilities, I needed to get to the wheel and create something I could examine and interact with.
Prototype #1 in clay
I ended up with this odd shape that I thought I could refine in the trimming stage.
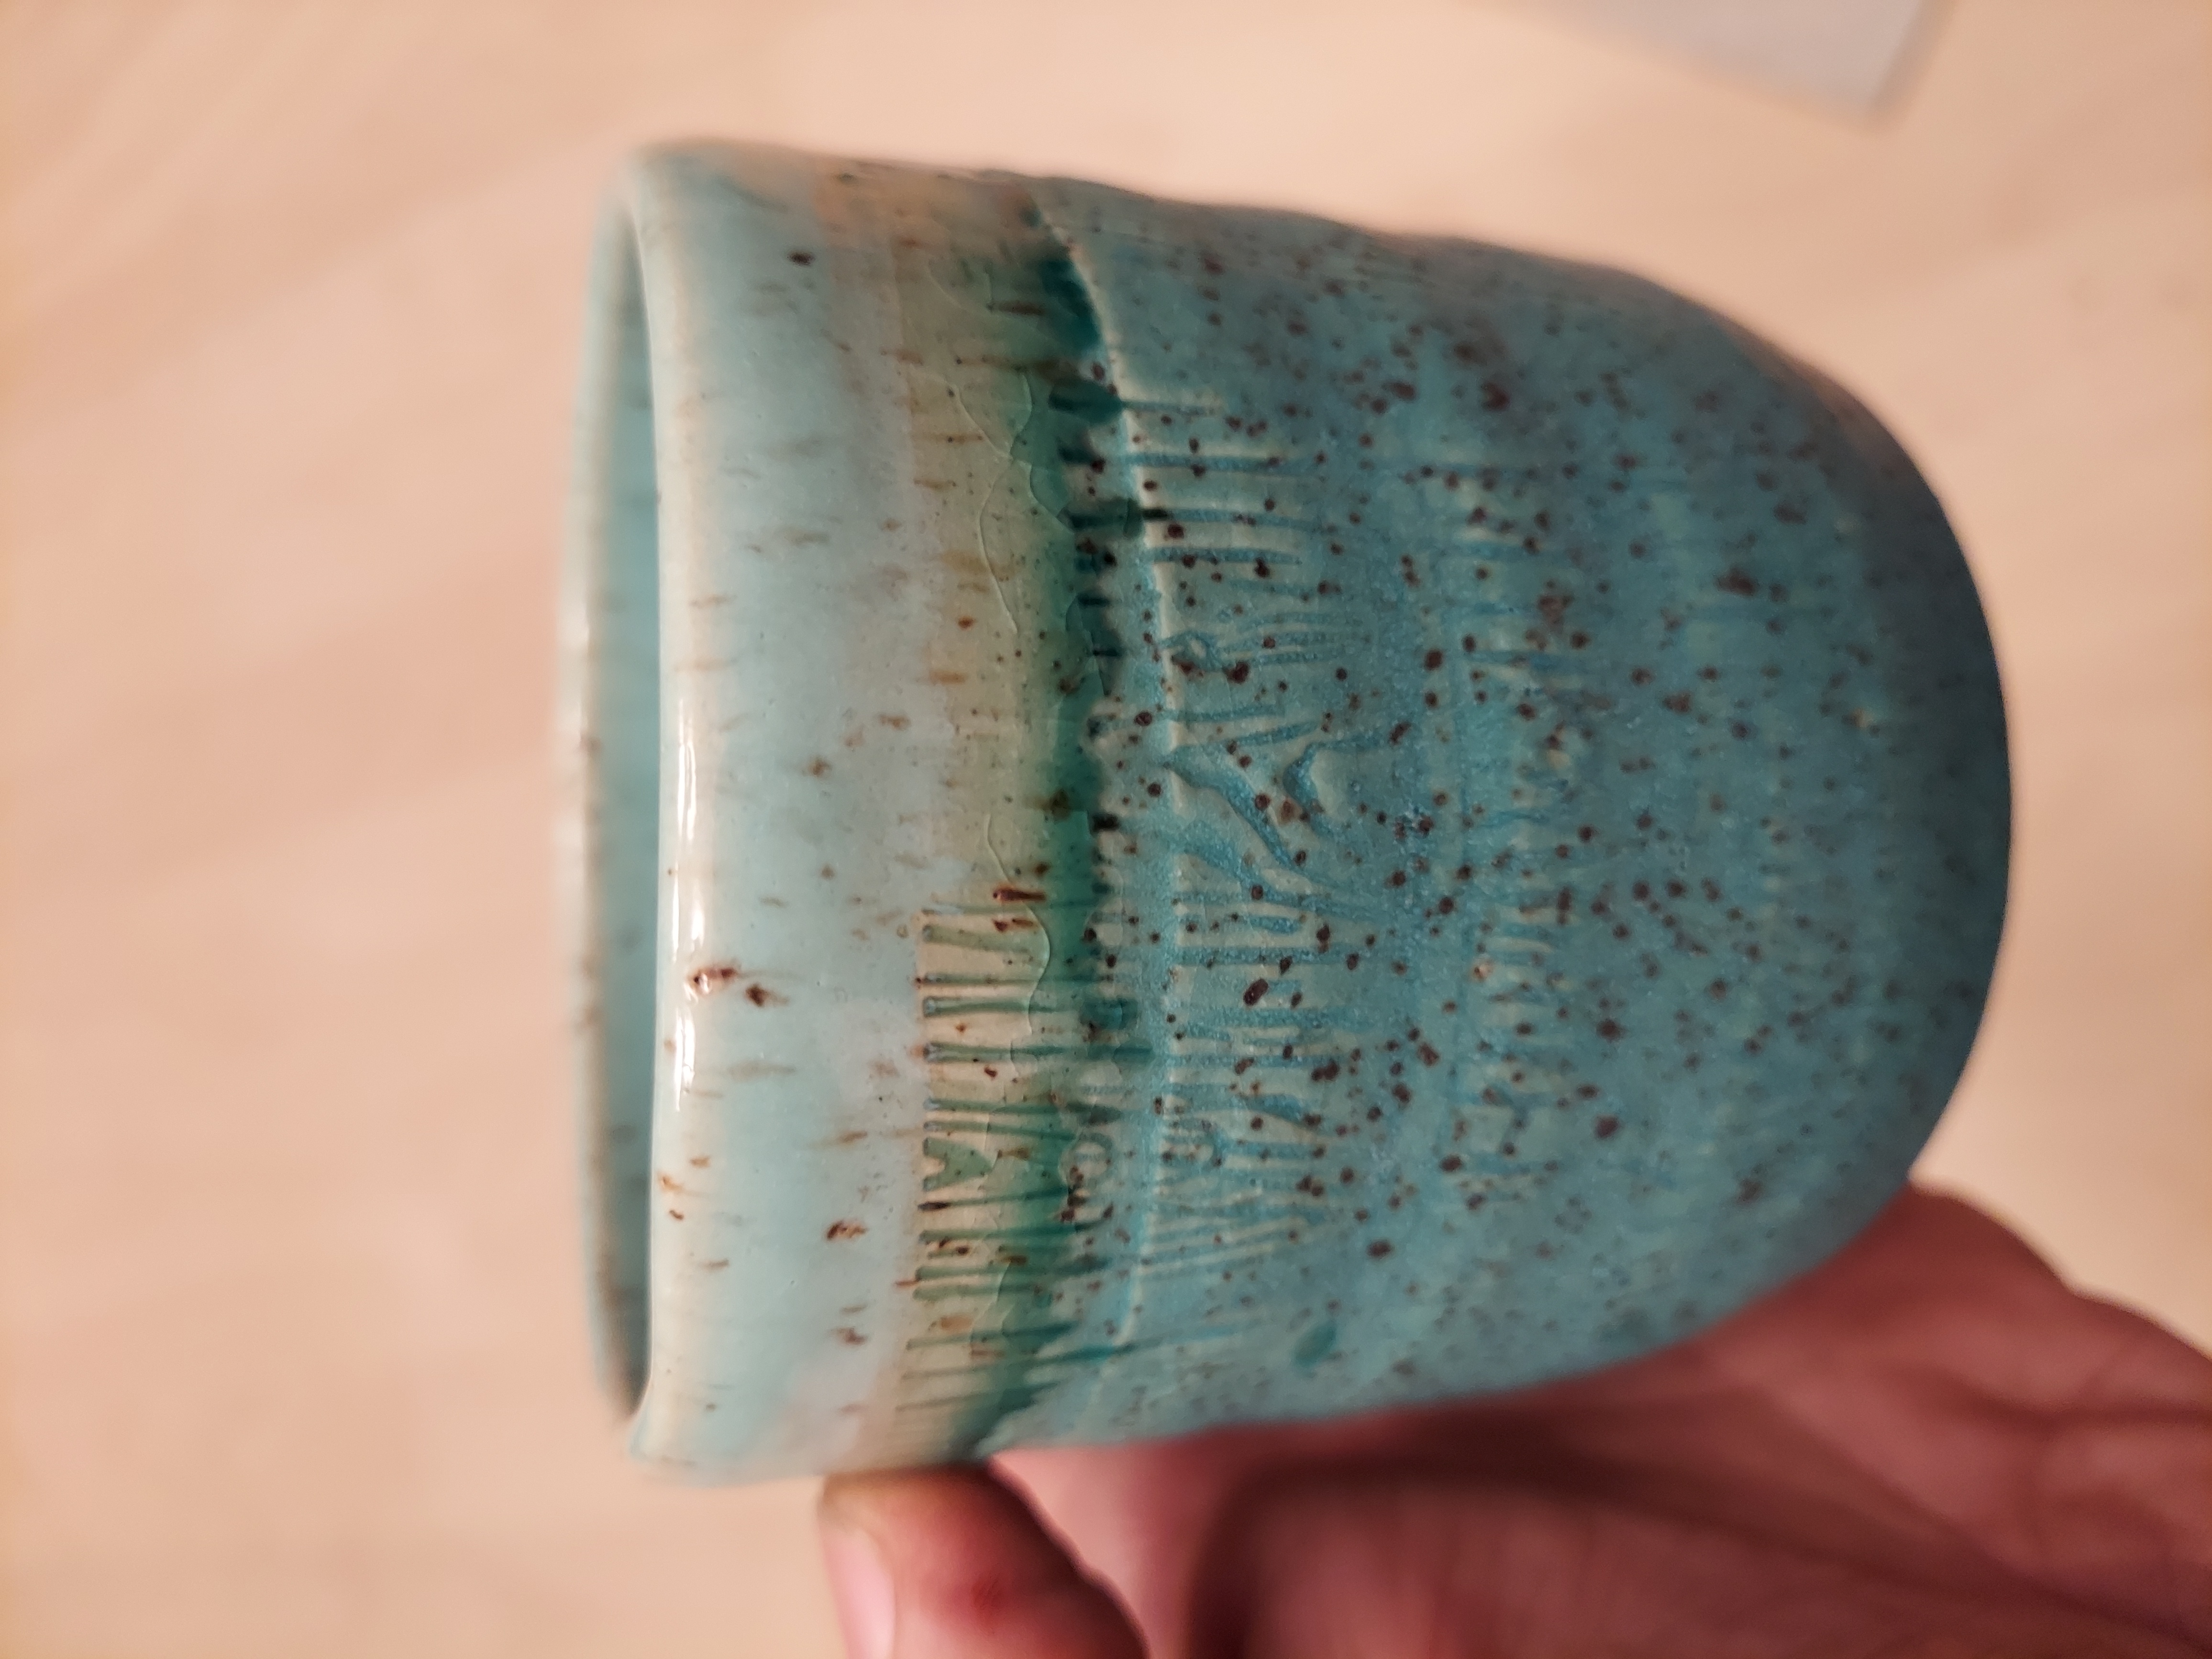
Trimmed & textured mug prototypes
I’m still not sure I like this iteration – it may be that the ‘cap’ shape will create weird liquid flow when drinking from it. Which is why I test a design. If this one doesn’t pan out, I have other ideas to try next.
I love texture and while I typically hand build textured mugs, I also love the symmetry of thrown work. So I experimented with throwing a handle-less mug & when it was soft leather hard and just after trimming, I put a cardboard cylinder inside and carefully rolled it over a textured mat.
The outside is glazed in a turquoise matte glaze, while the inside and the outside rim is glazed in a turquoise gloss. Where the 2 glazes overlap, is a green boundary line.
The clay is a speckled stoneware and sadly, the overlap of the 2 glazes caused crazing on the outside. The pieces I did with the same technique and glazes using B-mix (a white, unspeckled stoneware) fit better.
These deeply curved mugs are a favorite shape of mine, but they are a challenge to throw consistently and take a lot of time both in the throwing and in the trimming. I decided to play with a DIY rib (essentially a template to throw with) in order to simplify the process.
I started with sketching out the shape from my existing coffee mug, making sure I added about 12 – 15% to all dimensions to account for shrinking during firing.
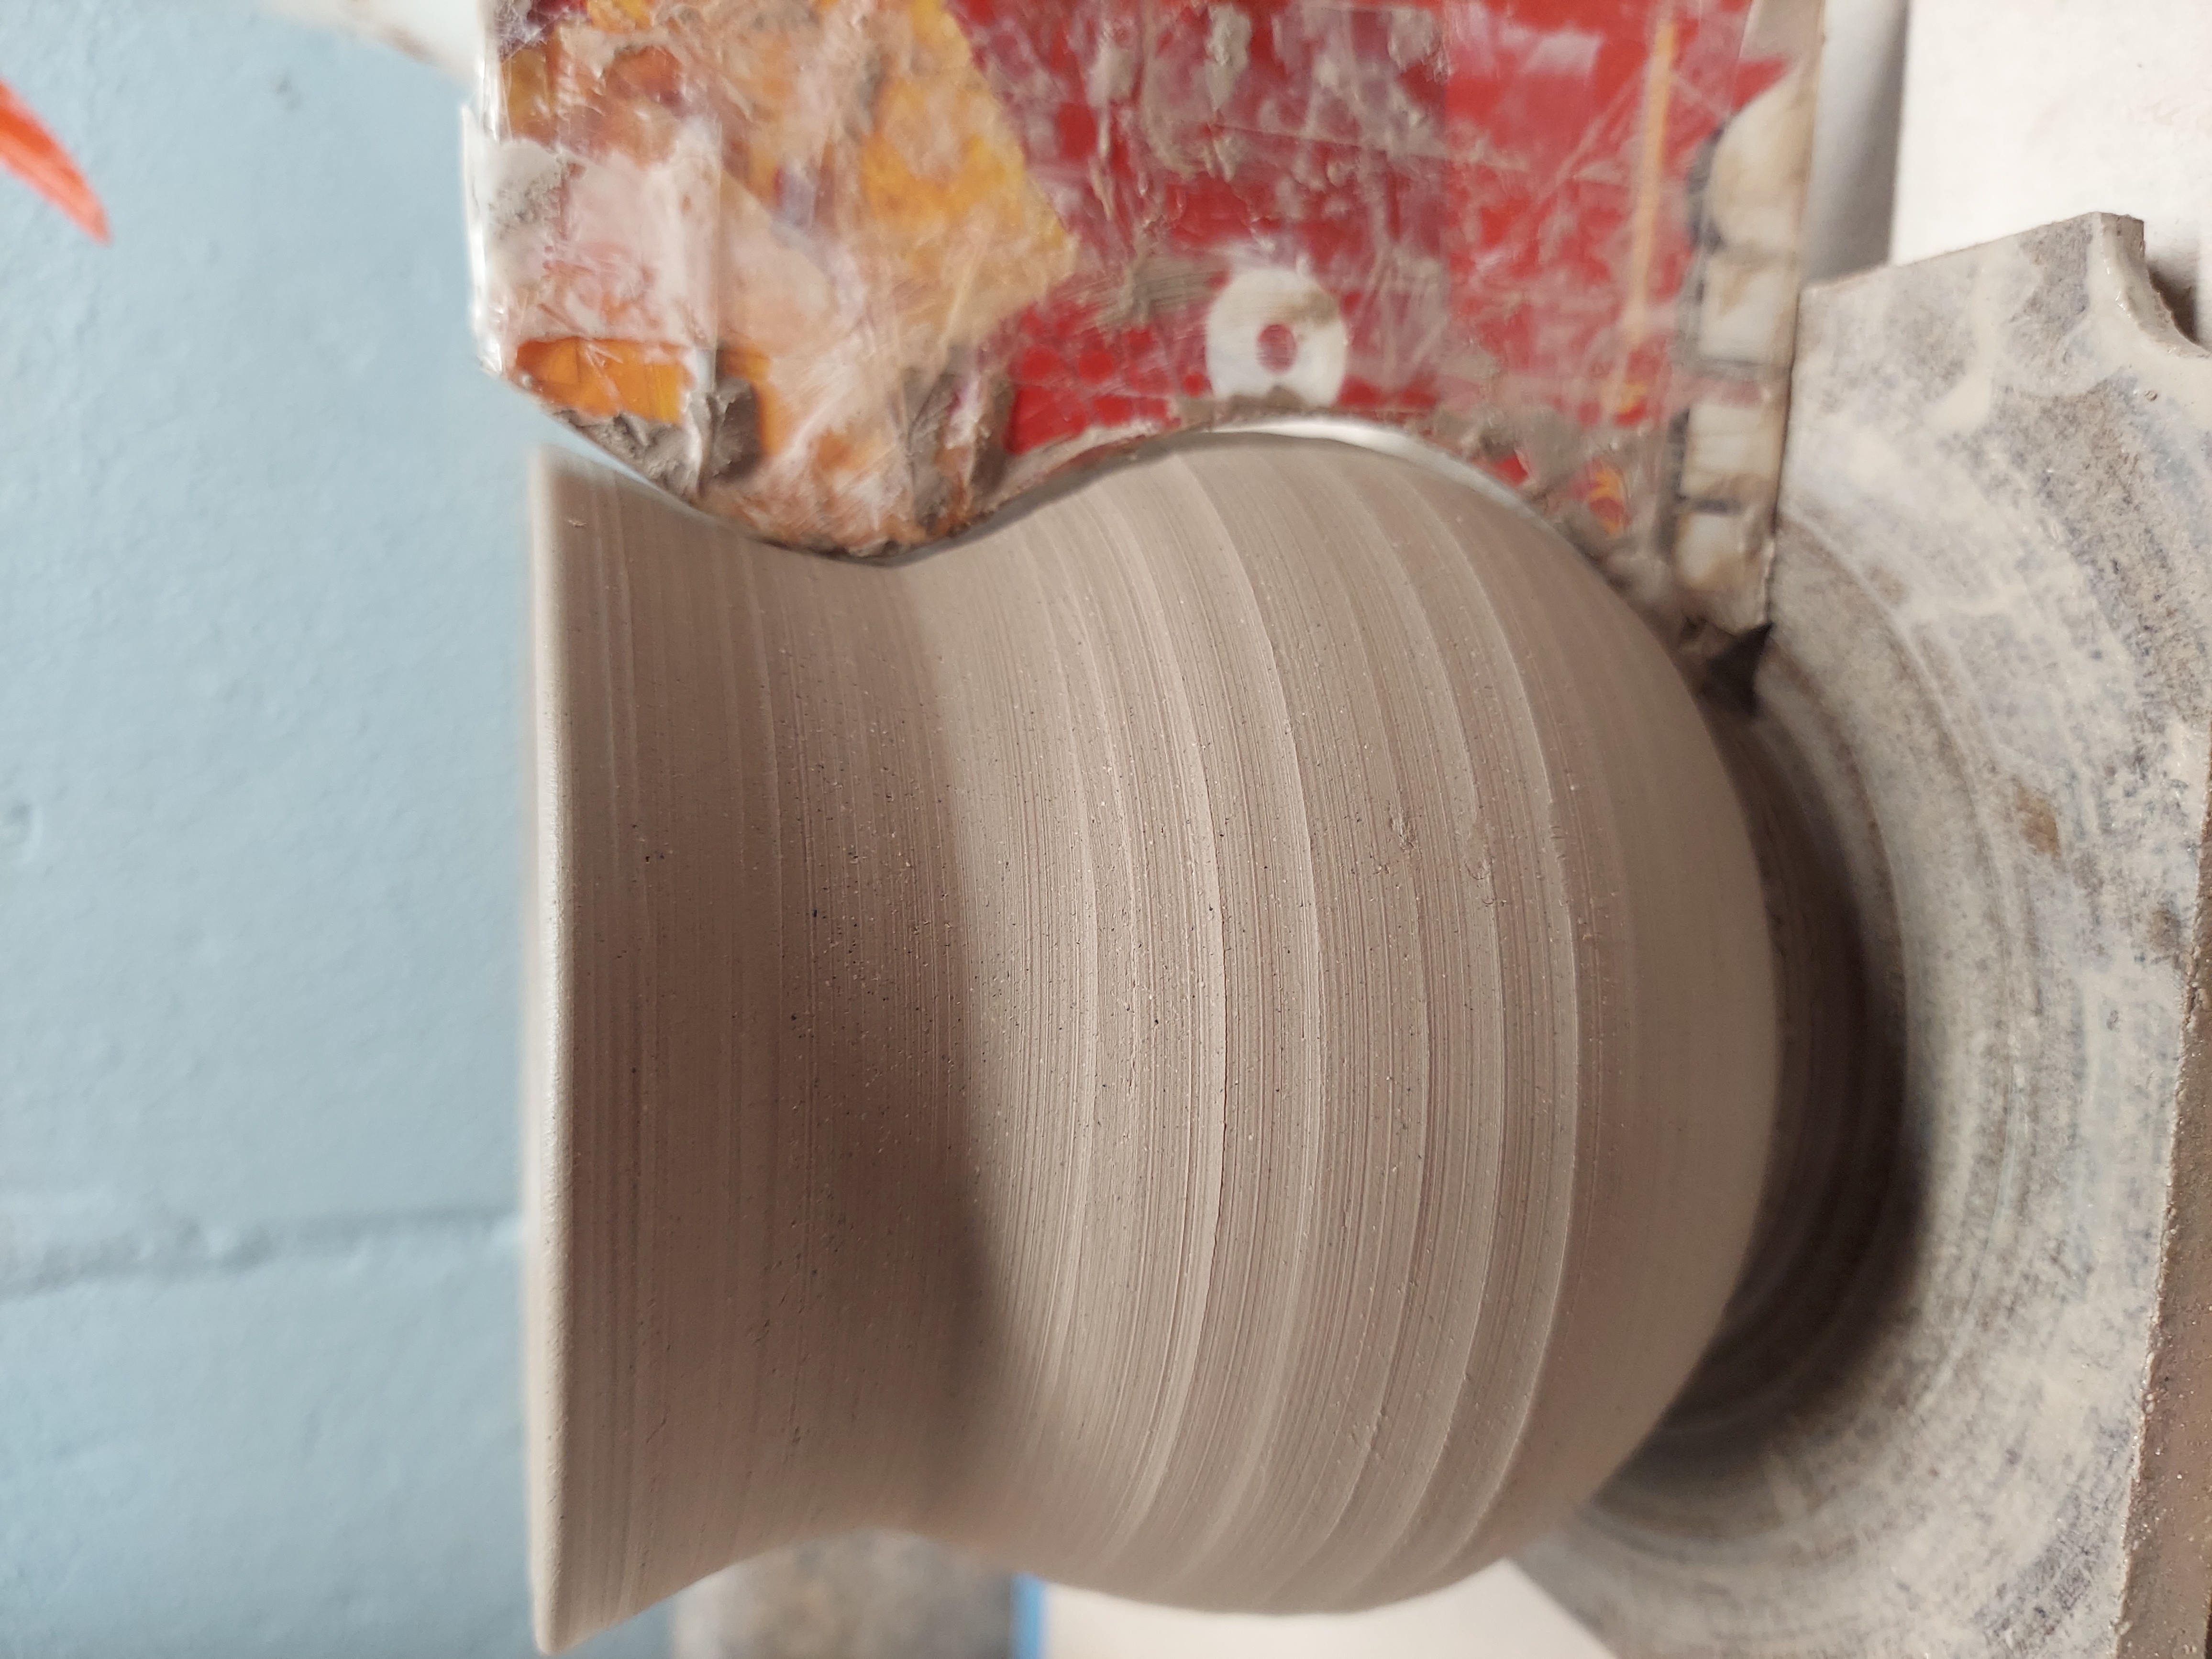
Then I cut out the negative space to create a shape I could hold against the mug. I traced it in cardboard and covered it with packing tape so it would stand up to getting wet. To the right of the thrown mug body above, you can see the rib. It certainly isn’t strong enough to use as a jig, but it definitely helps me to ensure the final shaping of the mug is consistent.
To use a rib like this, I first threw a cylinder that was approximately 3 1/2 ” in diameter by approximately 4 3/4″ tall out of 1 3/4 lbs of clay. I then shaped the belly and the neck curves with my hands to get an approximate shape. To finish, I use the profile rib to smooth the curves and finish the mug body.
Group of eight mugs with handles
And here you can see a set of eight thrown, trimmed mugs with pulled handles attached. Because of my use of the profile rib, the throwing took less time but so did the trimming. As each mug body was so close to its finished shape, the only trimming required was to define the foot, which took just a minute or two per mug.
I probably won’t go through the process to make templates for my simpler forms, but for a complex double curve like this one, it made a huge difference.