

These deeply curved mugs are a favorite shape of mine, but they are a challenge to throw consistently and take a lot of time both in the throwing and in the trimming. I decided to play with a DIY rib (essentially a template to throw with) in order to simplify the process.
I started with sketching out the shape from my existing coffee mug, making sure I added about 12 – 15% to all dimensions to account for shrinking during firing.
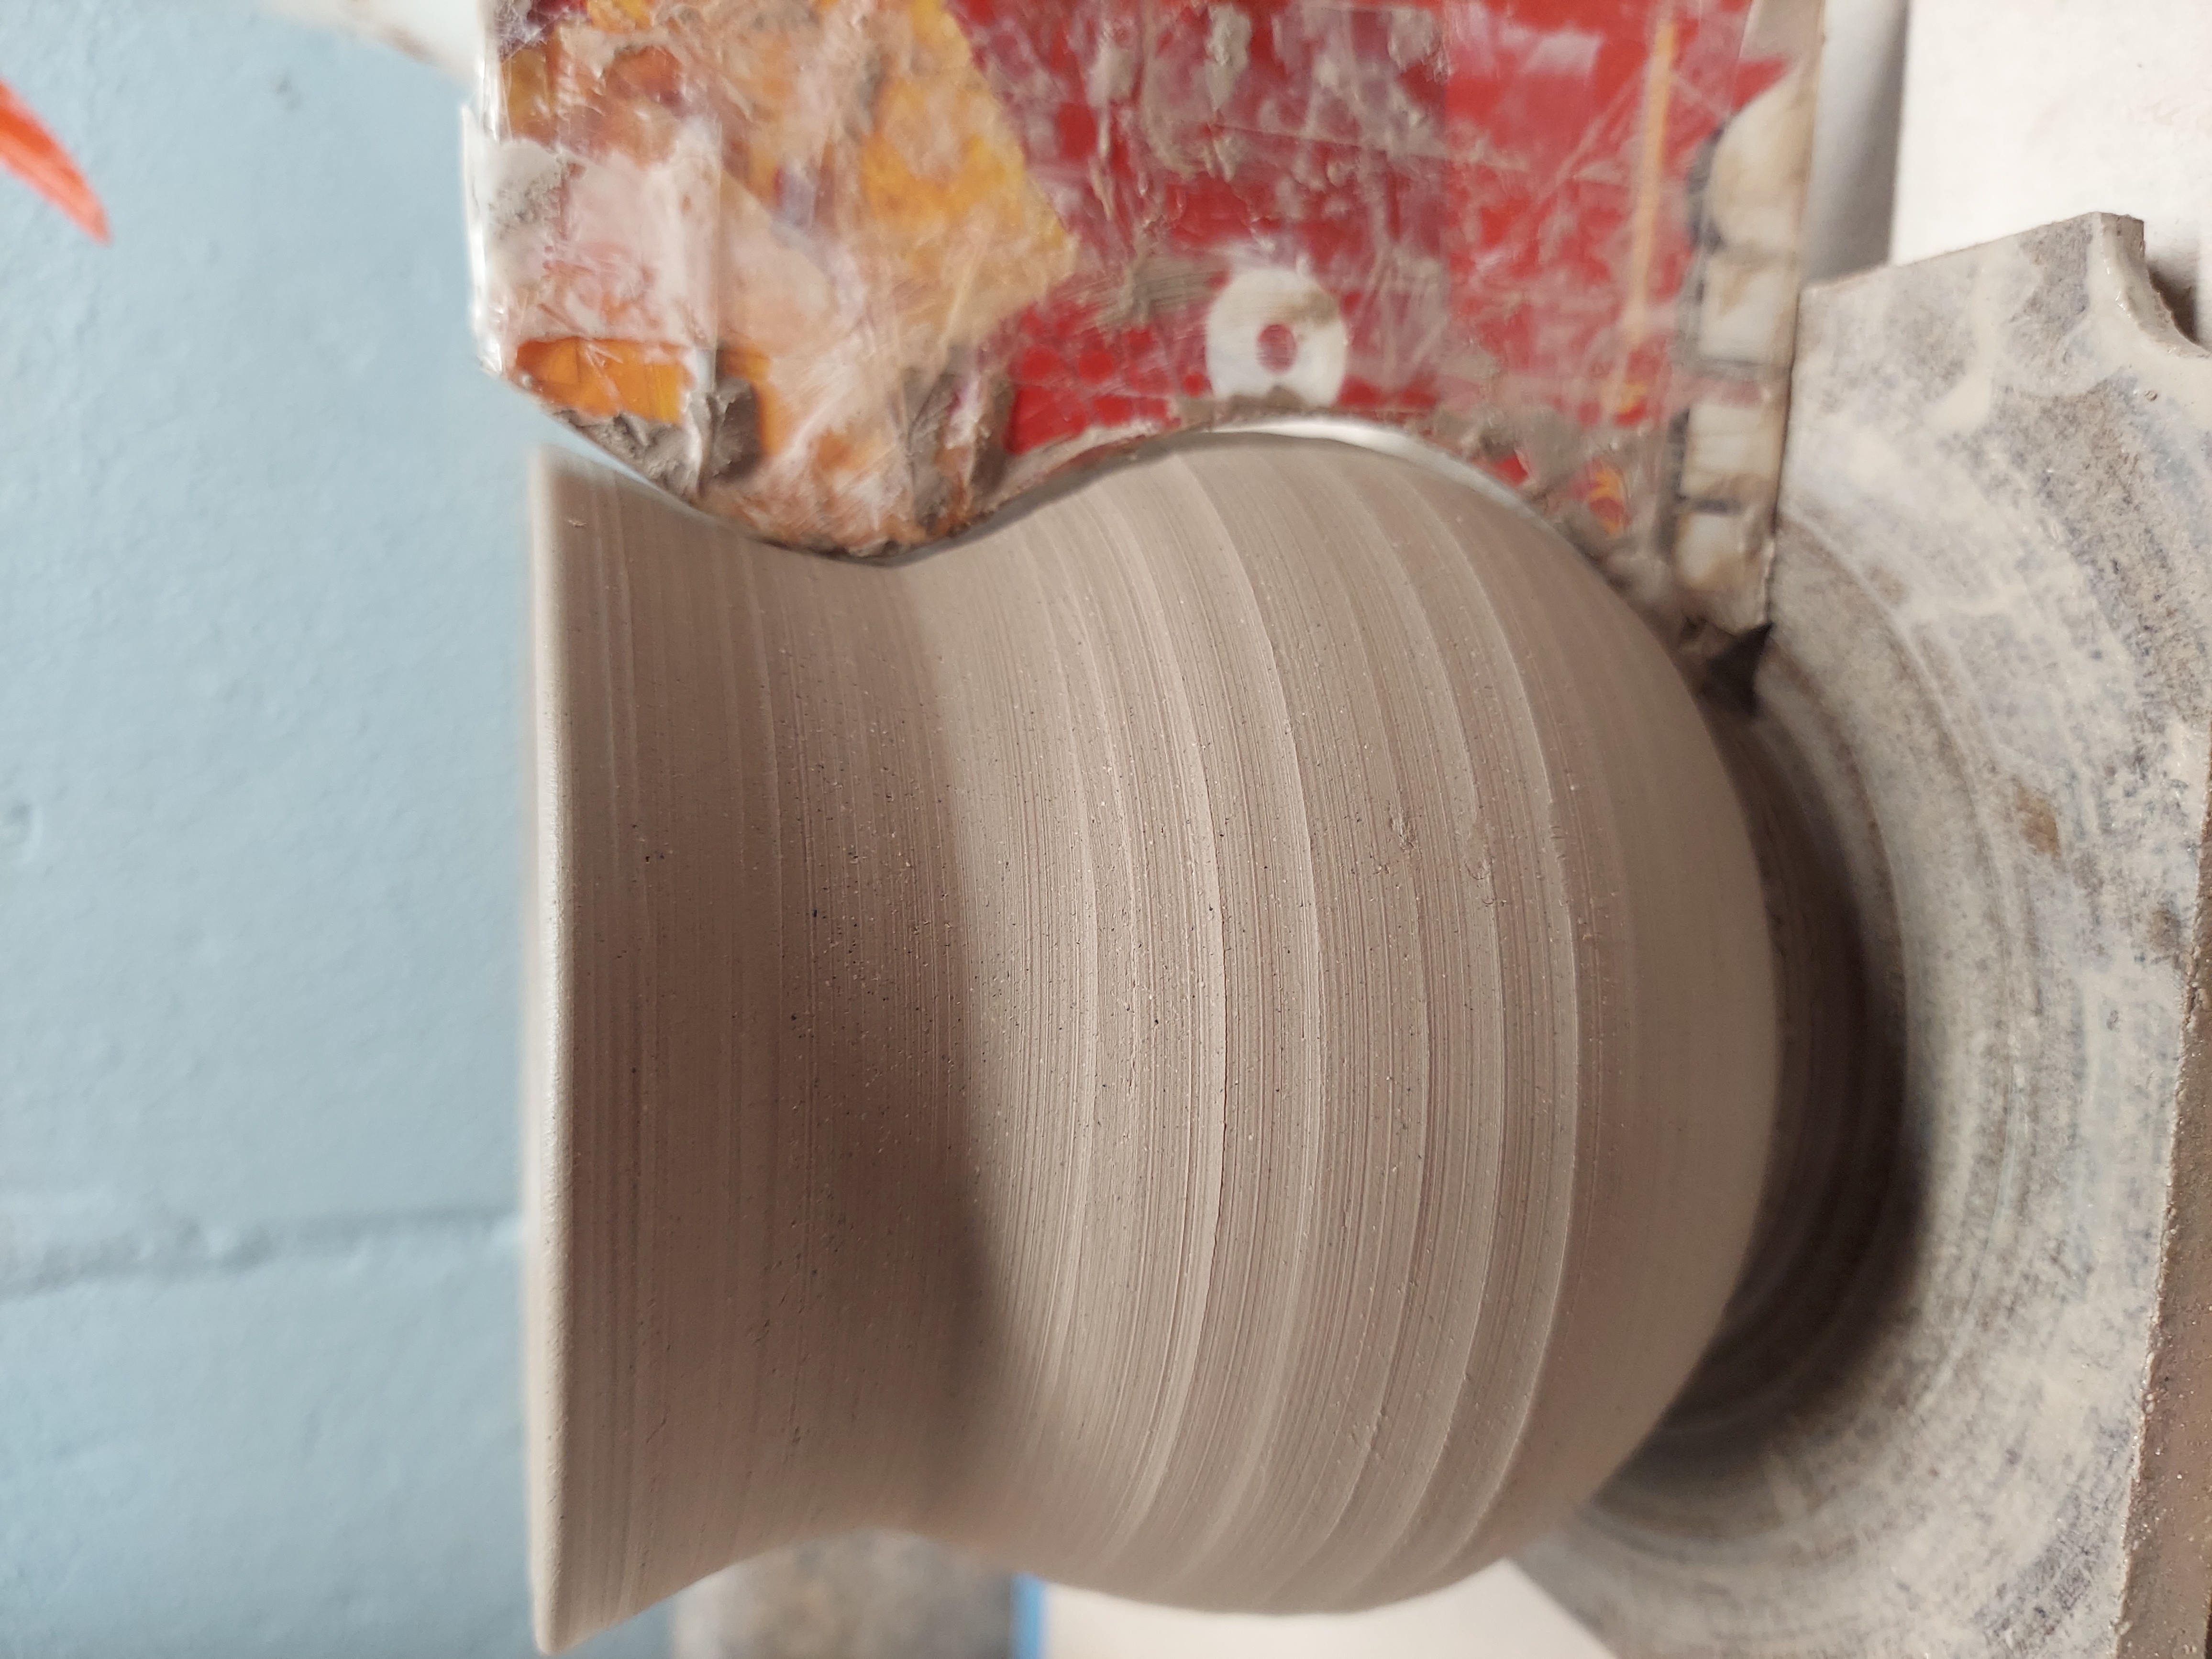
Then I cut out the negative space to create a shape I could hold against the mug. I traced it in cardboard and covered it with packing tape so it would stand up to getting wet. To the right of the thrown mug body above, you can see the rib. It certainly isn’t strong enough to use as a jig, but it definitely helps me to ensure the final shaping of the mug is consistent.
To use a rib like this, I first threw a cylinder that was approximately 3 1/2 ” in diameter by approximately 4 3/4″ tall out of 1 3/4 lbs of clay. I then shaped the belly and the neck curves with my hands to get an approximate shape. To finish, I use the profile rib to smooth the curves and finish the mug body.

And here you can see a set of eight thrown, trimmed mugs with pulled handles attached. Because of my use of the profile rib, the throwing took less time but so did the trimming. As each mug body was so close to its finished shape, the only trimming required was to define the foot, which took just a minute or two per mug.
I probably won’t go through the process to make templates for my simpler forms, but for a complex double curve like this one, it made a huge difference.